Elements Gathering 2015

Making pots with John Olsen

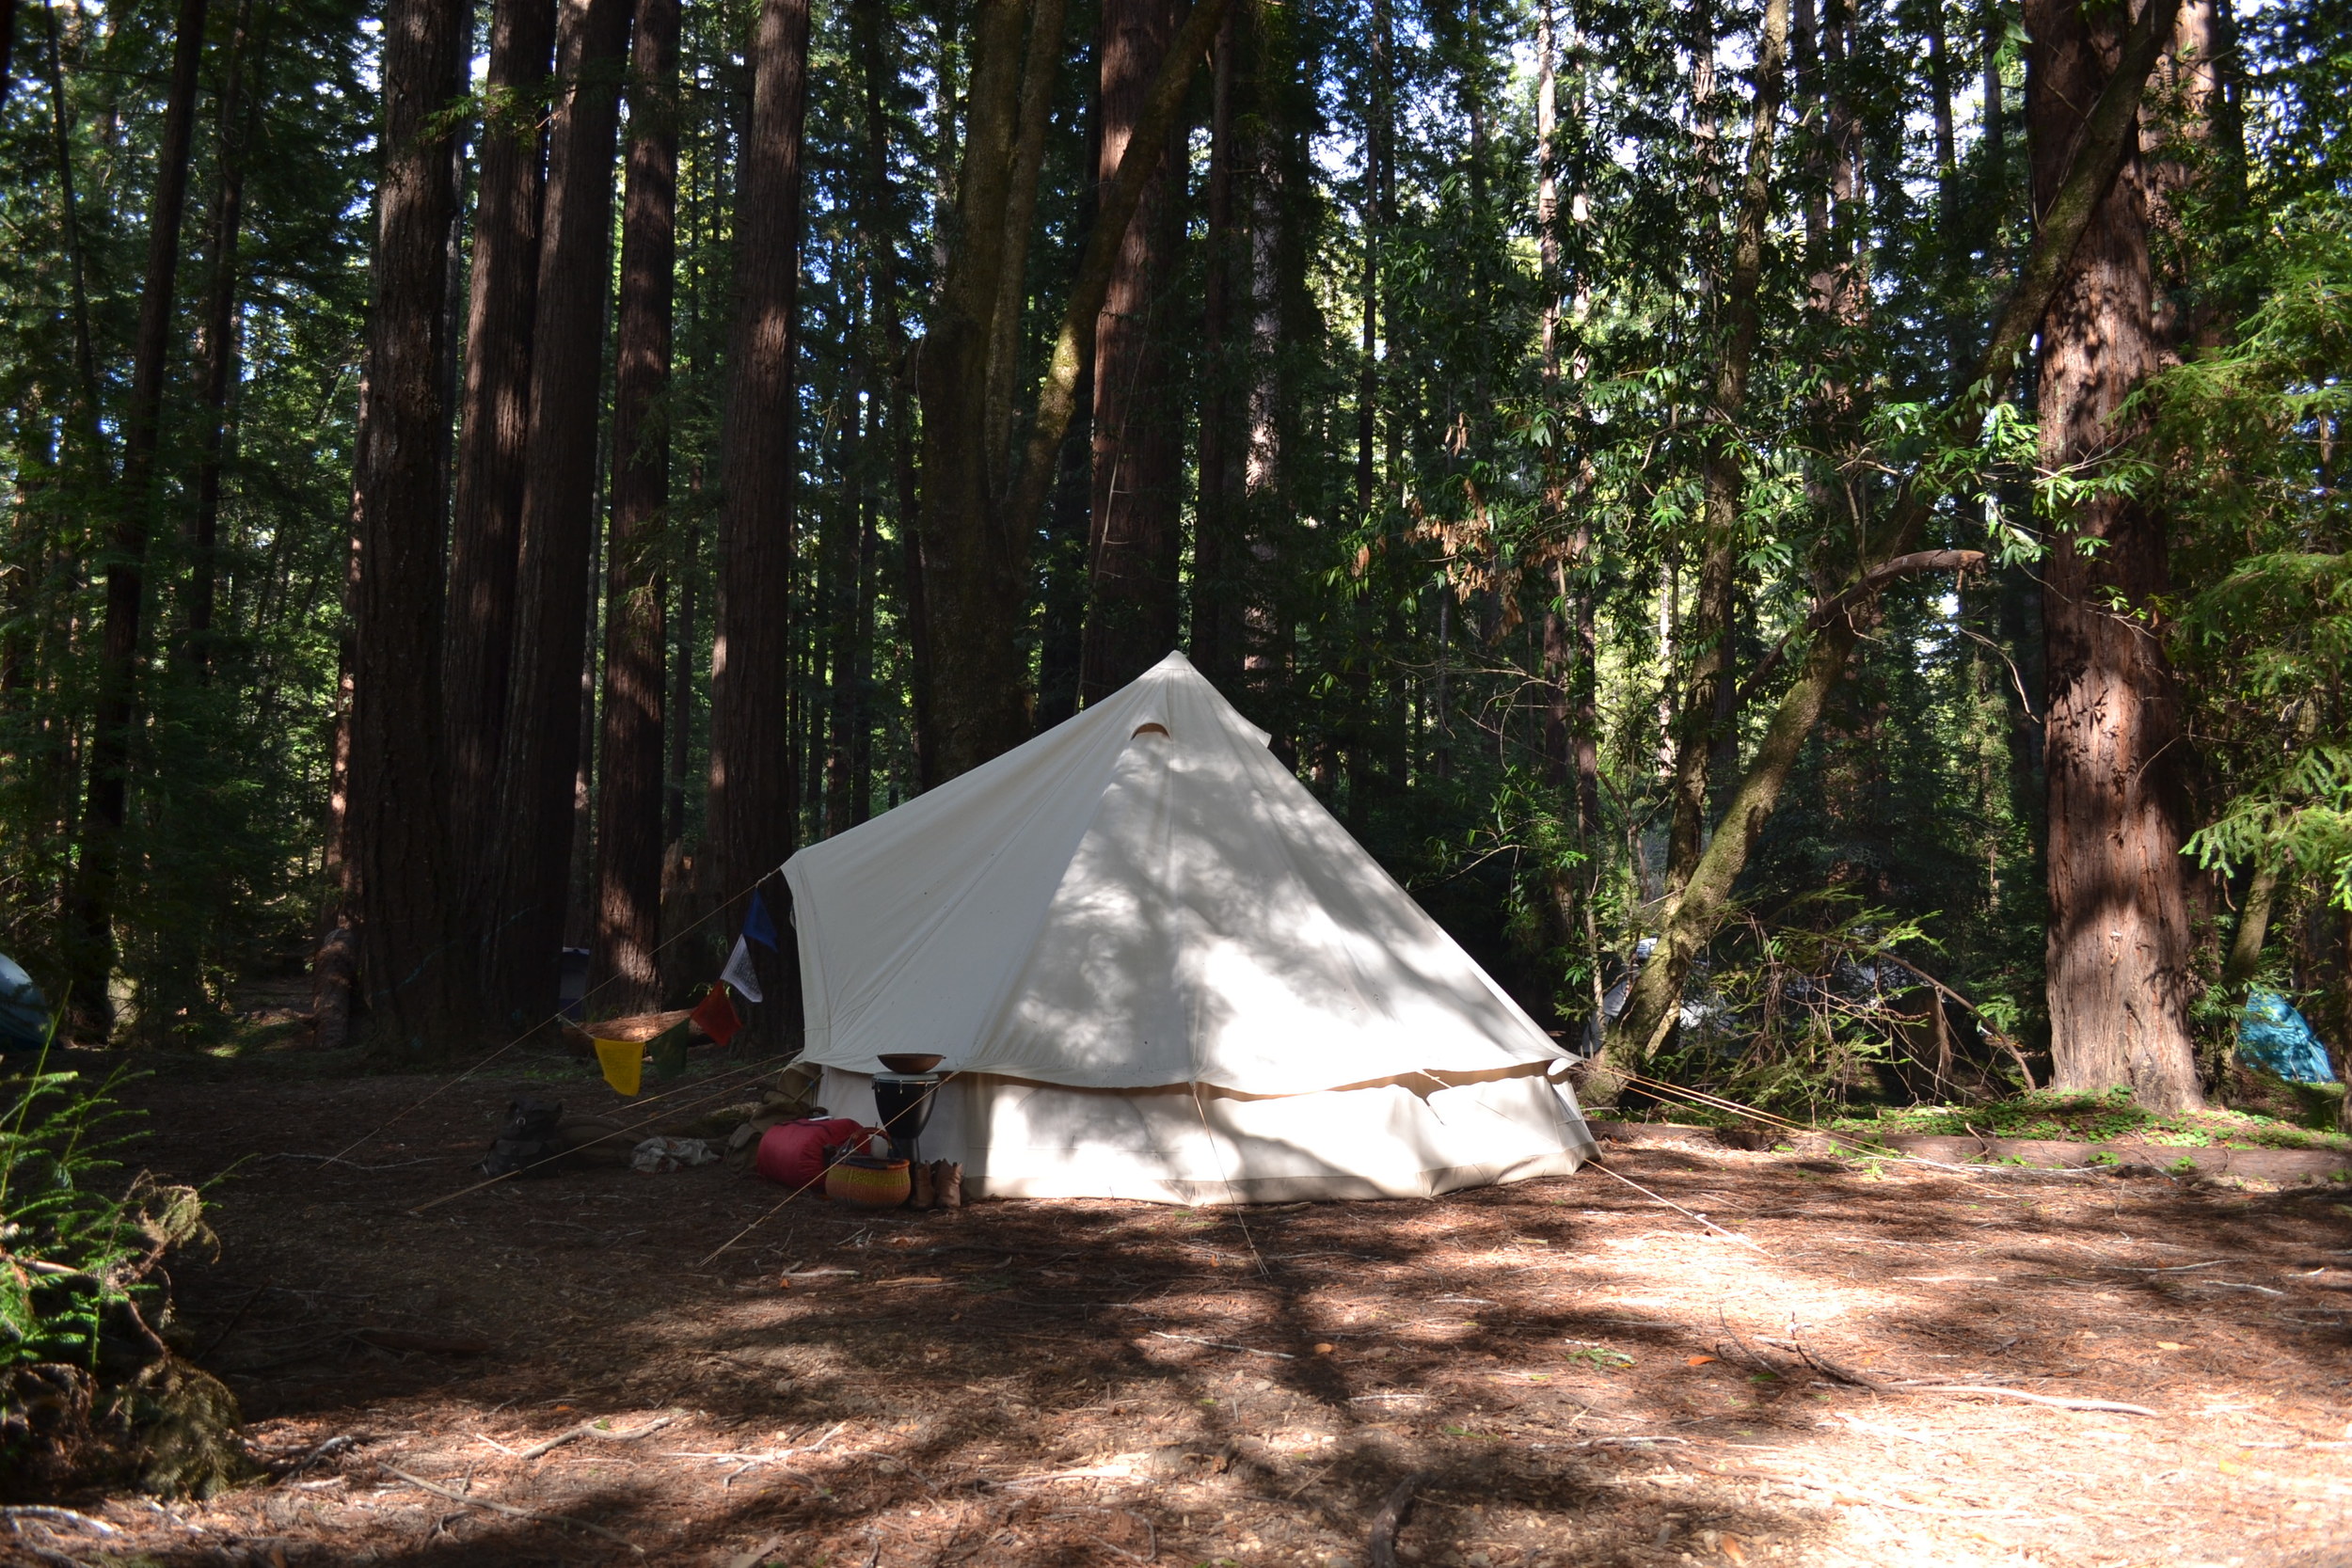
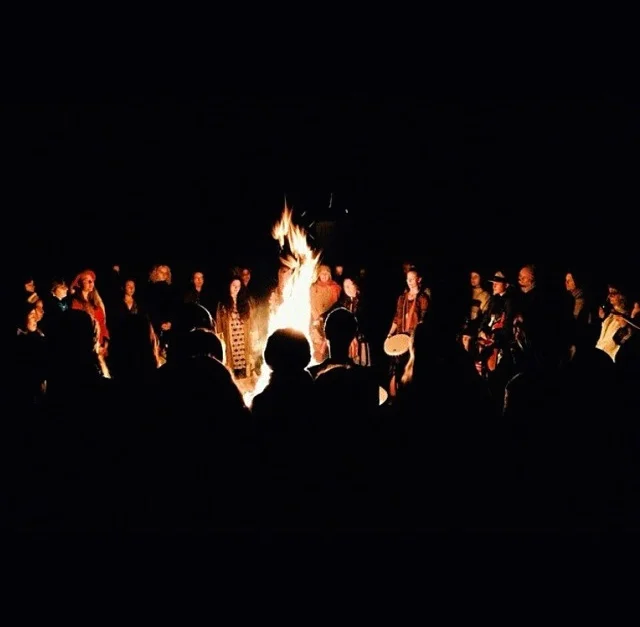
Last month I attended Elements Gathering for the second year. This gathering, like many others, focuses on sharing ancestral skills and creating community for 7 days out in nature. A variety of classes are offered ranging in topics from bladesmithing and hide tanning, to acro-yoga and sound healing. This particular event has quite the balance of helping one cultivate their self awareness to better serve the greater tribe. I truly believe that you cannot have one without the other.

Among many other skill classes I attended, I had the pleasure to learn and assist John Olsen in his Primitive Pottery class! John not only has been practicing the art of Anasazi pottery for over 40 years, but has taught many workshops all throughout the Western US in National and State Parks, and private gatherings to help share his knowledge of this work. He currently works for the Bureau of Land Management (BLM) tracking local clay deposits through Southern Utah and Northern Arizona to match pottery shards for archaeological records.  His goal is to recreate functional pottery that use the same techniques and evokes the same spirit of the Anasazi people.

For our class, John brought grey clay he harvested in the Four Corners area close to where he lives. We ground up Olivene via a lava rock mortal and pestle for temper and wedged it into the clay to start molding our pieces. Olivene is a mineral containing small amounts of iron, magnesium, silica, and helped our pots withstand thermal shock in the pit firing. We used the meditative technique of coil building while John demonstrated his corrugated pottery style.

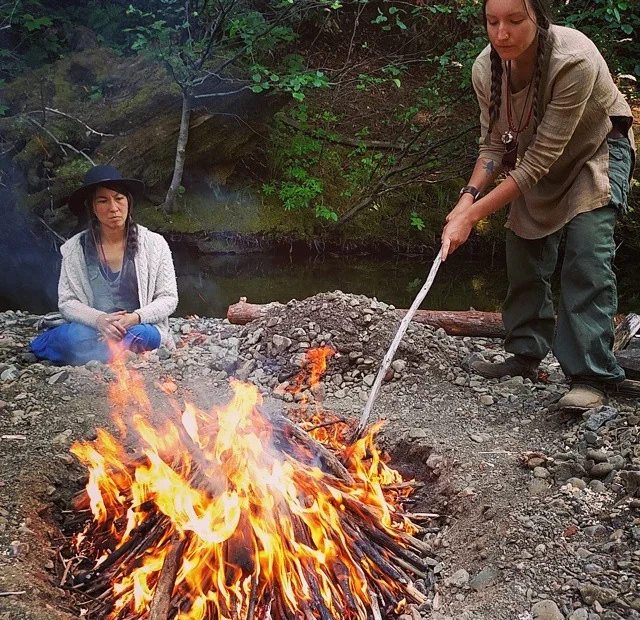
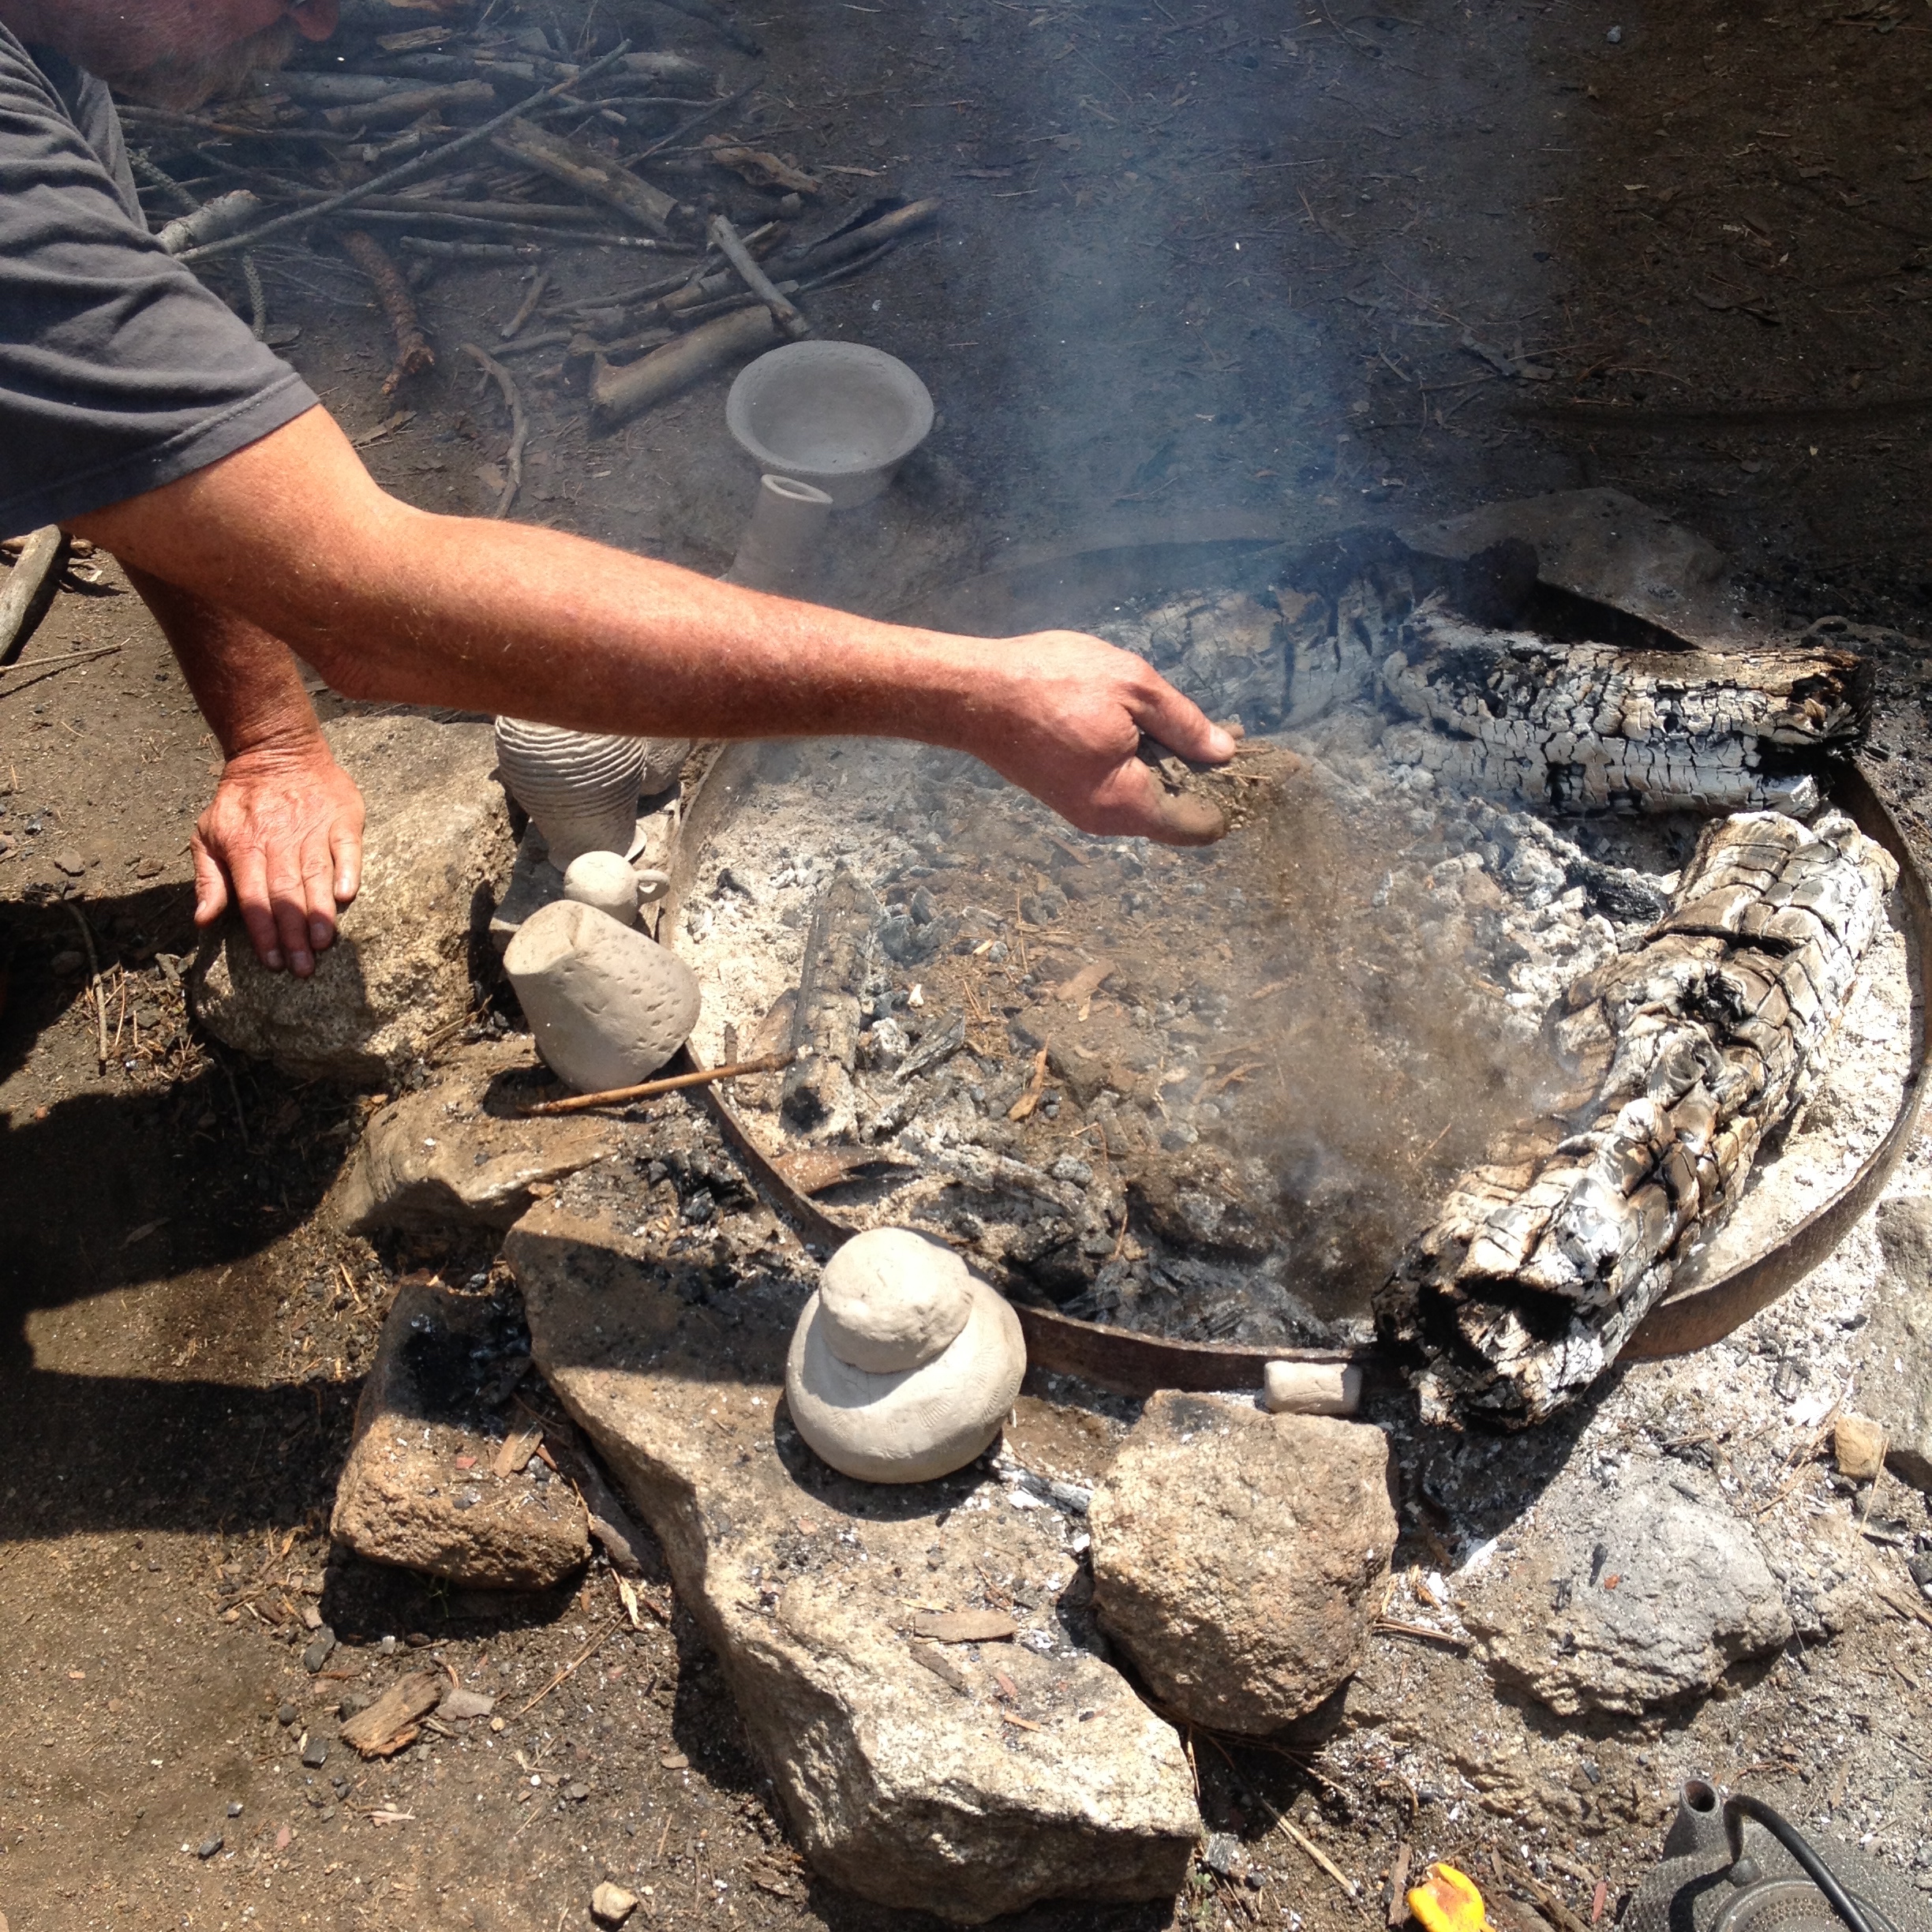
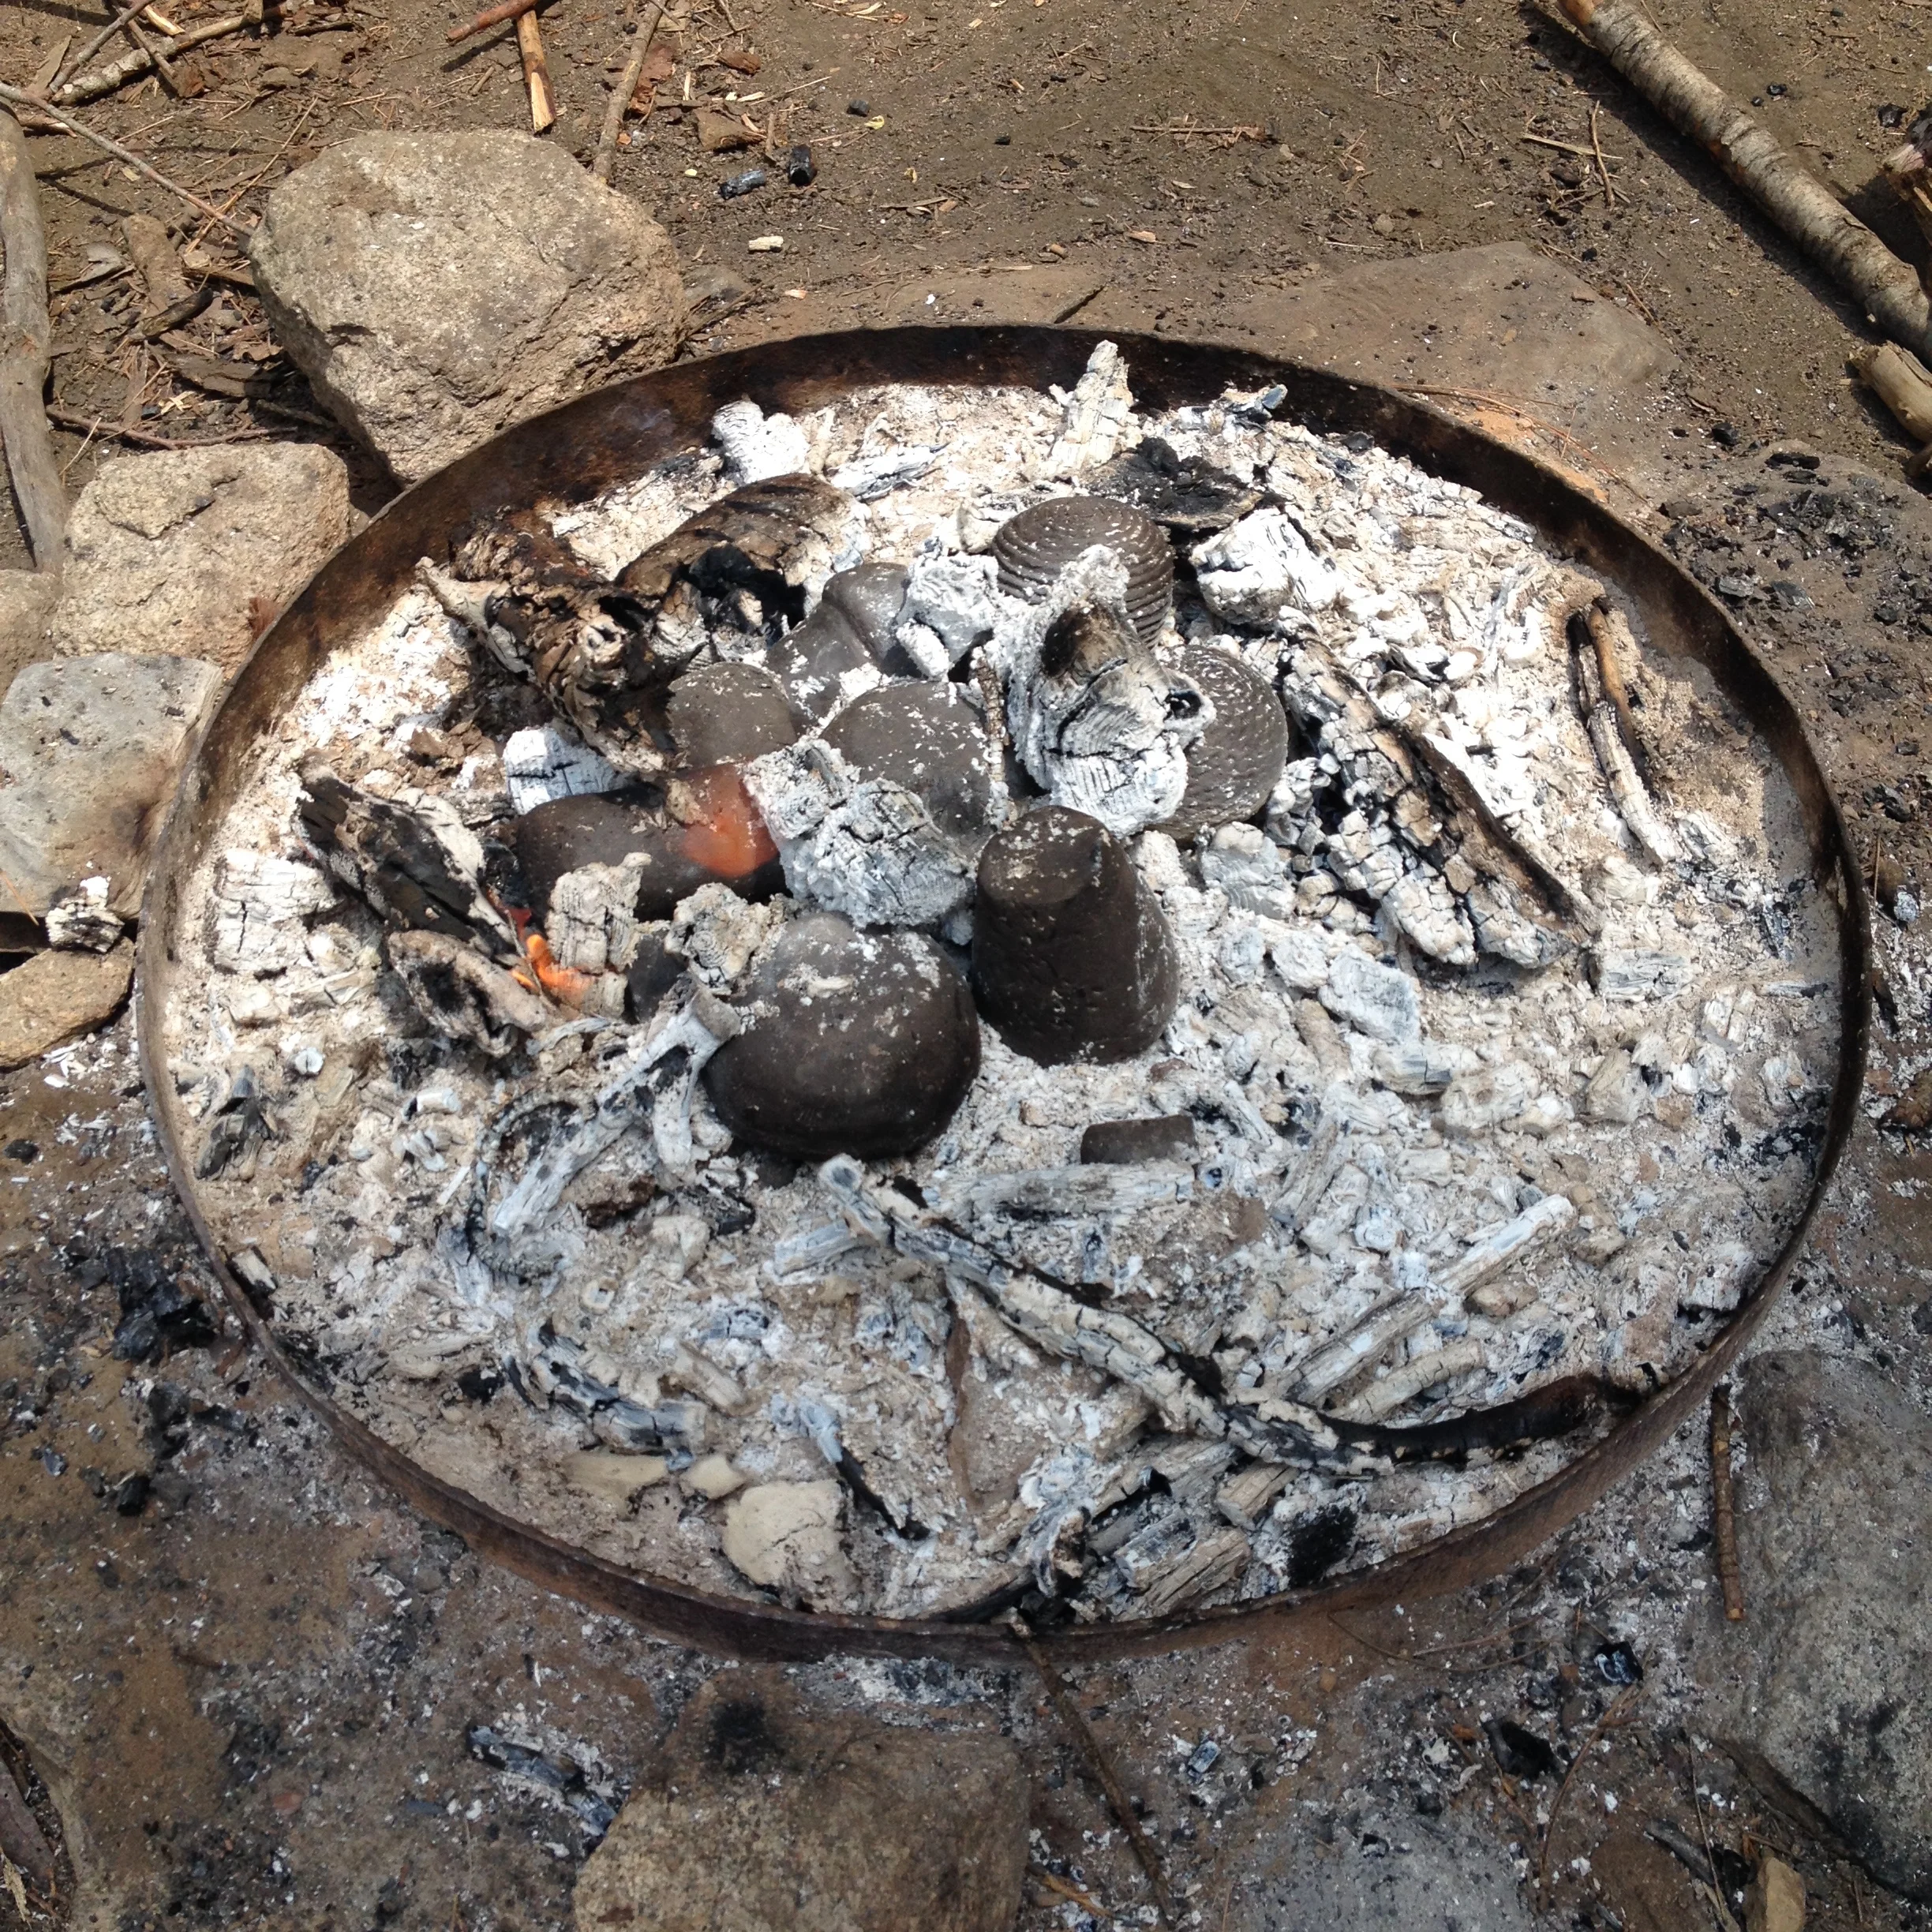
Despite two-three rain storms throughout our time in the Sequoias, our pots were able to dry enough to begin the firing process. I did my best to forage for dry sticks and fallen branches for our fuel, and small granite rocks to act as kiln shelves in the pit. We were confined to using the preexisting community fire pit, but through this challenge I was able to see how firings can be done no matter the limitation!

Over a span of 4-6 hours John and I were able to successfully fire 9 pots using what we had available and really staying present with the flames. The temperature reached was probably around 1600-1700 degrees Fahrenheit and the pots receive beautiful markings of carbon from the fire. 

Thank you John for this amazing learning experience and for memories I hold dear to my heart.

For more information on Elements Gathering, visit www.elementsgathering.com

Spirit Weavers Gathering 2015

Primitive Pottery & Pit Firing

Image by Elena Ray

Spirit Weavers is a five day celebration and embrace of the feminine heart. This all women skillshare event honors cultures past which represented basic human skills to ensure the survival of the body and the soul. Offerings include fermenting foods, weaving, felting, dying fabrics, basketry, leather and cattail crafts, pottery, sharing tea, making plant medicines, song, yoga, dance, and creating ritual. 

This was the second year I offered my Primitive Pottery and Pit Firing class, however this was the first year I was on my own. In 2014, my boss and friend Amara Alban co-taught with me as the gathering was located just down the road from MazAmar pottery studio here in Pioneertown. I enjoyed the challenge of harvesting local clay this time and teaching alone to fully surrender into my role of giving. I wanted this year's class to be more authentic to primitive pottery techniques with a focus on local materials. If we look to nature, we have everything we need.

Prior to attending the gathering, I reached out to local ceramic artists at Mendocino Art Center to inquire about clay deposits in the area. I was reassured that I would find clay almost everywhere, as the soil is rich in it up north as opposed to the sandy/silty earth here in the desert. This is what I love most about being an artist-sharing resources and information! So I gathered all of my experience, my pointed shovels, and buckets and headed for the coastal redwoods of California to Camp Navarro! 

My first full day in the Mendocino area yielded no signs of direct clay deposits, but I was determined to find anything! The next day I drove down a few dirt roads and visited the local hardware store for more supplies and sieves. On my way to Ukiah from Boonville (the town closest to Camp Navarro), my head was turning left and right at the road cuts-clay!!! I soon pulled over to take a photo of a beautiful rainbow in the sky when I found my deposit, a beautiful rich red clay! I gathered about 10 gallons and left an earth offering for the land.

That evening I started processing the clay by drying it out fully overnight and then stomping it into a powder the next morning. I added water to the buckets of now powder and let all the natural material level out by weight. The water rose to the top, then the leaves and sticks, clay, and heavy gravel. I poured out the water on the top and sieved the liquid clay slip into clean buckets. I gifted back all the water and debris to the earth and poured slabs of the liquid clay onto large pieces of canvas to dry. After flipping the slabs several times to assure even drying, I cut the slabs up into smaller chunks and started wedging the clay into a workable consistency. After I made about 20-30 1lb. balls, I added temper. This is one of the most crucial points of primitive pottery!

Temper can either make or break your piece, literally. Temper is essentially small pieces of silica (grog), that when added to clay acts as small tiny cracks to help the pot during the thermal shock of the firing. It helps your piece shrink and expand with the fast heating and cooling of an open pit fire. Temper can be found almost anywhere and can be made from ground up quartz granite to chunky sand. The Navarro River runs through Camp Navarro, so I was lucky enough to find river sand in the perfect size temper I needed. I added a small handful at a time and wedged the sand into the clay to fully integrate. 

I let the 1lb. balls sit overnight and we used them the next day. Ideally this process takes about a week or two, but for the purpose of the class I'm glad I was able to make it work in three days or so. I gathered enough clay, so that next year I can arrive with the local clay pre-mixed, tempered, aged, and ready to go. 

For my class, I discussed the history of primitive pottery, how to harvest and process local clay, and various techniques on forming a pot. We focused on the basic beginner's ceramic technique of pinch-pots. Each student made her own pot and the second day we decorated the pieces with different clay slips made from ground up oxides and ochres. We ground up chunks of Manganese and Red Iron Oxide and mixed the powders into the local clay slip to apply to the pots.

All above images are copyright by Spirit Weavers Gathering: Renata Chebel and Kacie Tomita.

All above photos are courtesy of my personal collection and from other students.

It was a challenge working in a new wetter climate that I am not used to, so the pots took a bit longer to dry than expected. I ended up using one of the kitchen ovens to preheat the pots to 400 to remove all of the remaining moisture. On the third day of the gathering, we set up our pit firing on the shore of the Navarro River. The ground was moist and so were the pots, so the firing was not ideal. Through the elemental steaming process of fire and water, the pieces ended up melting back into the ground instead of becoming permanent. To me, the fire became more of a releasing ceremony rather than impermanent becoming impermanent. The pots are now imbued into the shores of the river, which when the water rises, filters out into the Pacific ocean. The earth returned back into the arms of the Mother. Of course I was disappointed at first despite all of my hard work and heart put into the clay, but it is humbling to have failures and I still consider myself just as much a student as I am a teacher. I will definitely take what I have learned from this firing and apply this new knowledge next year and try again!

All above photos are courtesy of my personal collection and from student, Lauren Kruz.

I told my students that there is never a 100% guarantee in pottery and that their piece might not survive-but that is the beauty of it all. Nothing will ever last in this world. Sometimes I get tired of making fragile art but it's moments like these where I take something more than physical away. The learning experience for both myself and my students is invaluable and will keep me teaching for many more years to come. I am so grateful to all the women who took my class and opened their hearts to the transformative world of pottery, despite a different outcome than I had hoped. We are not only forming clay, but forming ourselves.

For more information on next year's gathering and dates visit  www.spiritweaversgathering.com.

Cal-Earth Superadobe Scuplture Garden // Spring 2015

Artist Residency at Cal-Earth Institute

By using our background in fine art and knowledge of Superadobe, alumni Laura Smith and I created a sculpture garden at the California Institute of Earth Art & Architecture. We wanted pieces that foster community, interaction, and conversation. Our series of site-specific works were made from the Cal-Earth technology of earthbags, but pushed the flexibility of the bag, shapes, and forms. We wanted to explore what the earthbag is capable of, and inspire others to see this earth architecture can be simultaneously playful and functional.

Our sculpture garden idea was a long time coming, as Laura and I conceived of it when we first met back in the spring of 2013. I was finishing my R&D DIY window project with Brandon Evans and she was just beginning her first apprenticeship. That autumn we both worked together on the first Cal-Earth Long Term Vault Program with three other peers, and built a 12x24 freestanding Superadobe vault in 12 weeks. That program really showed how well we worked together and how similar our ideas were for Superadobe sculptures.

We started brainstorming the idea of a site-specific Cal-Earth sculpture garden in the fall of 2014 via Skype, Facebook, and email as Laura was finishing up projects abroad.  We really wanted pieces that kids could touch and be encouraged to play on. Laura and I pitched the 12 week sculpture program idea with a timeline, budget, and sketches and it was a go! We wanted to treat our program like any other art residency program, so we did our best to be clear with our intentions for the space. Once we both gathered in the proposed site, we made clay models, revised budgets and timelines, and started sketching on the ground. Laura worked on mathematical 2D sketches of our final three ideas to scale, and I worked on artist sketches in perspective with the surrounding trees.   

By week two in February 2015 we had settled on our ideas and started working on wooden forms, forms, and more forms. To make a positive shape, you need to visualize and calculate the negative shape. Superadobe bags form to what is around it, like a mold, so we got creative with making decreasing hemispherical arches, catenary arches, and circles that would become sandbag swirls! All new forms were made from older recycled forms on site as well as broken bed frames from student housing. Our goal was to keep this project sustainable and affordable by using as many reclaimed materials as we could find and only purchase new necessary items.

Once all the forms were finished, we started digging! For our first piece “Earthrise,” my idea was to celebrate geometry and echo forms in nature, such as the rainbow.  I envisioned a playground akin to monkey bars where kids could climb on and into the tunnel of decreasing arches, which created an optical illusion.

We sank each bagged arch into the ground 1.5' to 2’ deep, speared onto 2-3 pieces of rebar cast in concrete. Brandon taught us how to bend rebar into arches by hand so that we could imbed the two largest arches with two full pieces and hand pack the arches with mix. This way, the arches could withstand any movement forced onto them, such as a child pushing from both directions. We wanted these pieces to be as safe as possible, so we also added gravel, Portland Cement, and extra rebar where we could.  Bagging such large arches was no easy feat, as they have the tendency to sag towards the ground and start out large and get smaller, thus resulting in an uneven arch form. By the fourth of seven arches, we came up with an easy technique of using a long 2x4 to prop up the bag as leverage to accurately spear it onto the rebar. Most times we needed more than two people, so we looked to the on-site apprentices for help when we could.  We added wire mesh to make up for the unevenness of the bags and did several coats of rough plaster.

For our finish coat, we used Lehigh Type 1 White Cement with varying shades of La Habra Stucco Color Additive. We bought four different colors but ended up using the “Clay” color and did small test tiles to properly ratio how much color to how much cement. We decided on making the largest arch pure white cement and earth decreasing in brightness to the smallest arch with white cement, earth, and the most saturated dark grey. The texture was troweled with a sponge finish with a little grip for safe climbing. We battled uneven drying due to a freak spring storm with 35mph winds, but still managed to come away with a fine plaster job, where my partner Toby Verhines helped every step of the way!

For our second piece, “Loop De Loop”, Laura’s idea was to create two parallel lines in space alternating their movements, like tides and waves of the ocean spilling onto the next one.  We both wanted it to act as a bench and be functional as a social arena for conversation and relaxation. We built it curving around an existing Joshua Tree, coming off of “Earthrise” as a jumping off point. It also interacts with a pre-existing bench area attached to a retaining wall on the west side of the campus. This piece truly pushes the flexibility of the earthbags, as Laura wanted a Superadobe swirl as the final period on a sentence of varying arches. The sketch and idea was elegant, the creation of it, not so much. Our first attempt of the swirl broke due to a improperly placed cold joint, and not enough rebar support. The second go around was a success and as it’s been said around site, “It builds character to take down a few rows on a dome.” The finish coat of plaster also includes white cement and pigment, where the bottom rows are pure white and the two top bags utilize a warm earth orange colorant with almost complete saturation of the materials.

Our third and final piece, “Archaos” is true to it’s name.; A chaotic free standing single-bag sculpture twisting and turning with no end and no beginning. This piece was based on a shape Ian Lodge, Cal-Earth’s Site Director, had seen and wanted to replicate in bag form. For this piece, we constructed a catenary arch by tracing a long chain and built it with accompanying 2x4 legs. For the bottom arch, we had a bag curve around a cushioned blue irrigation pipe. We cast rebar into the ground to attach it to the earth and also added in Micro-rebar in the mix, essentially tiny pieces of twisted metal rods that act as support. Upon form removal, the piece slumped in place with risk of falling. We added single sandbags as buttresses, resulting in a bulkier shape. Although this piece didn’t go as planned, we learned A LOT from the process. It is currently a work in progress and both Laura and I are headed back to Cal-Earth in November 2015 to finish it! 

As for signage, I utilized MazAmar’s process of iron oxide transfers to create permanent ceramic signs for each piece and the sculpture garden as a whole. After firing the tiles, I coated them in three layers of Helmsman Water Sealant which includes a protective UV agent and prevents against fading and sandblasting in the high desert sun and winds. I inlaid the fired ceramic tiles into sandbags and plastered around them.

Through this program, we learned the hard way that if we were to make more pieces in the future, we would need at least a group of 5 to execute the projects effectively. Community is INHERENT in Superadobe as well as other natural building techniques in general. Tribes and villages would gather and make each other’s houses together and repair them after the rainy seasons.  This work is not easy and often includes heavy physical labor with the support of one’s friends and/or family. I am so grateful for the help of the many teachers and apprentices on site, previous alumni, my partner Toby, and of course my creative partner, Laura Smith.

For the opening reception, my parents flew all the way from the east coast to surprise me for 24 hours! It was one of the best days of my life and I couldn’t be more happy with the current place I am at in my life.  This project to me, was the culmination of my MICA Senior Thesis from 2012 plus my new love of earth building made into reality. I had always dreamed of creating larger than life earth sculptures, and I feel that by learning these and more earth building techniques, I can execute my ideas successfully. I anticipate on learning rammed earth, cob, straw bale, and more natural plasters in the future to enhance the flexibility of my ideas.

If anything, this work has taught me perseverance and to deeply surrender to what is. The times when I struggled and had no idea which direction to go, the art would tell me what it needed and gave me answers to all of my questions. So many parallels came up between the pieces and my personal life that were too hard to ignore, like gentle nudges in the right direction. This place took a big piece of my heart from the minute I stepped through the gate almost three years ago. What a journey it has truly been and I look forward to keeping my hands dirty and close to the earth.

Laura and I would like to thank the following people for their help and support:

Thomas Ballandras, Beau Baconguis, Brandon Evans, Sheefteh Khalili, Dastan Khalili, Ian Lodge, Wade Lucas, Florent Moisan, John Orcutt, Jerry Peterson, Dan Soto, Crystal Torres, Emine Turan, Toby Verhines, Dave Walker, and Nathan Wright.

We wouldn’t have been able to finish without each and every one of you!

For more photos of my finished pieces from the Superadobe Sculpture Garden, visit my Earthworks gallery.

To visit Cal-Earth, schedule a tour or see a list of public Open House dates at www.calearth.org.

WELCOME!

Welcome to my new website URTHENWARE.COM! Here you’ll be able to view my portfolio, shop my current ceramic line, submit custom and wholesale orders, and stay updated on events where I’ll be teaching or selling my wares.

Subscribe to the newsletter to receive special offers, be notified when sales are happening, get up to date promotion codes, and read new blog posts.

Thank you for all your support!

Caitlin Deane
Urthen